Open a web browser on your linux machine, for example Firefox, and type:
localhost
in the address bar. You should get a connection failed message. If you try to visit the machine IP address from a remote computer, you will get the same. Our linux machine is still not a web server, as it misses any web server software.
We will now install the apache2 web server software. We will also install support for the PHP programming language and for MySQL databases. The full bundle is known as LAMP (Linux-Apache-PHP-MySQL) server.
There is a longer way, and a very short and easy way to install LAMP. We will take the easy path. For information, thought, these are, in summary, the commands for the long way:
andrea@ubuntu:~$ sudo apt-get update
andrea@ubuntu:~$ sudo apt-get install apache2
andrea@ubuntu:~$ sudo apt-get install mysql-server
andrea@ubuntu:~$ sudo apt-get install php libapache2-mod-php php-mcrypt php-mysql
You can find a more exhaustive description of the process with additional configuration details in this nice DigitalOcean tutorial.
Let’s instead take advantage of the “tasksel” shell command. Tasksel allows to install bundles of different programs grouped together to achieve a certain functionality such as for example a full desktop environment, a full mail server, a full web server etc.., without having to install individual software packets.
Here’s the short procedure required to install LAMP:
Let’s update the repositories:
andrea@ubuntu:~$ sudo apt-get update
Installing tasksel:
andrea@ubuntu:~$ sudo apt-get install tasksel
Installing LAMP with a single command:
andrea@ubuntu:~$ sudo tasksel install lamp-server
While MySQL is installed you will be required to input a password for the root user. It is important that you enter a good password and then remember it or securely store it for eventual later usage.
You can use a tool such as this one to generate a secure password. You may want to generate a 15 or more characters password for a good security.
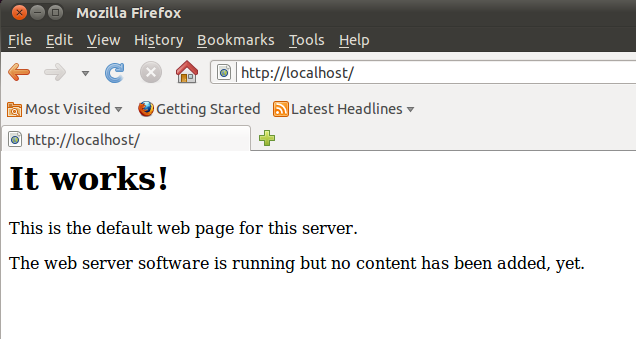
Once the installation is over, open again Firefox and visit
localhost
and/or visit your Linux machine IP address from a remote computer.
If everything went fine during installation you will now see the default apache web page:
Congratulations, you were able to successfully set up a Linux web server!
In order to use it, we need to understand a few things about how the web server is configured by default. In the next section we will look at a few important configuration details, that will allow us to use the server at best for this course and to use it as the course server, that will host a web development account for each student. To achieve this a few tweaks will be required to modify the behavior of the default apache installation. Keep reading about the Apache web server configuration in the next section.
Chapter Sections
[pagelist include=”63″]
[siblings]