In order to create and edit html pages and source code we need a text editor. There are several text editors that work over a Terminal SSH connection. Among the most used are vi and nano. During this course we use the latter which was already discussed here.
There are however a number of specialized code editors that will run in a graphical desktop environment and are more suitable than the shell editors to manage significant lengths of code. For one, syntax highlighting and full project management are “bonus” features often available only in graphical environments.
Graphical Text Editors
Graphical text editors can be used in two different ways:
– Files can be created and edited locally and then uploaded to the server by using an FTP client software.
– Files can be edited through a direct connection of the text editor software to the files on the server. In this case, when you open a file, it is loaded locally for editing in a temporary directory. When you then save the file, it is automatically uploaded back to the server in the background, replacing the previous version of the file. The download and upload processes are “transparent” to the user, it is “as if” you were editing the file directly on the server, by using a graphical editor, without having to explicitly worry about file transfers. Needless to say, we suggest you use this second option, unless you are actually developing locally on your own server machine and do not need any remote file transfer.
There are code text editors for all operating systems. One thing we should maybe point out upfront is that Microsoft World is not suitable to edit HTML or code. Never edit source code files with Microsoft World. You will need a text editor that works on text only files and implements some dedicated features for working on source code files.
Extremely simple, always available text editing programs are “Text Edit” on the Mac and “Notepad” on Windows. We mention them because they are installed by default on the respective OS. However we do not recommend them as they are not specialized source code editors. For instance neither syntax highlighting nor working on remote files are supported by any of the two. On Ubuntu Linux and other distributions you will find a very good editor installed by default, called Gedit. If you have Linux as local OS, you could consider it as editor of choice.
Two excellent, specialized, full featured, cross-language, free IDEs (Integrated Development Environments) available for all platforms are:
Rather than a text editor, NetBeans is a complete project management environment. We recommend that you explore it as it is a powerful tool.
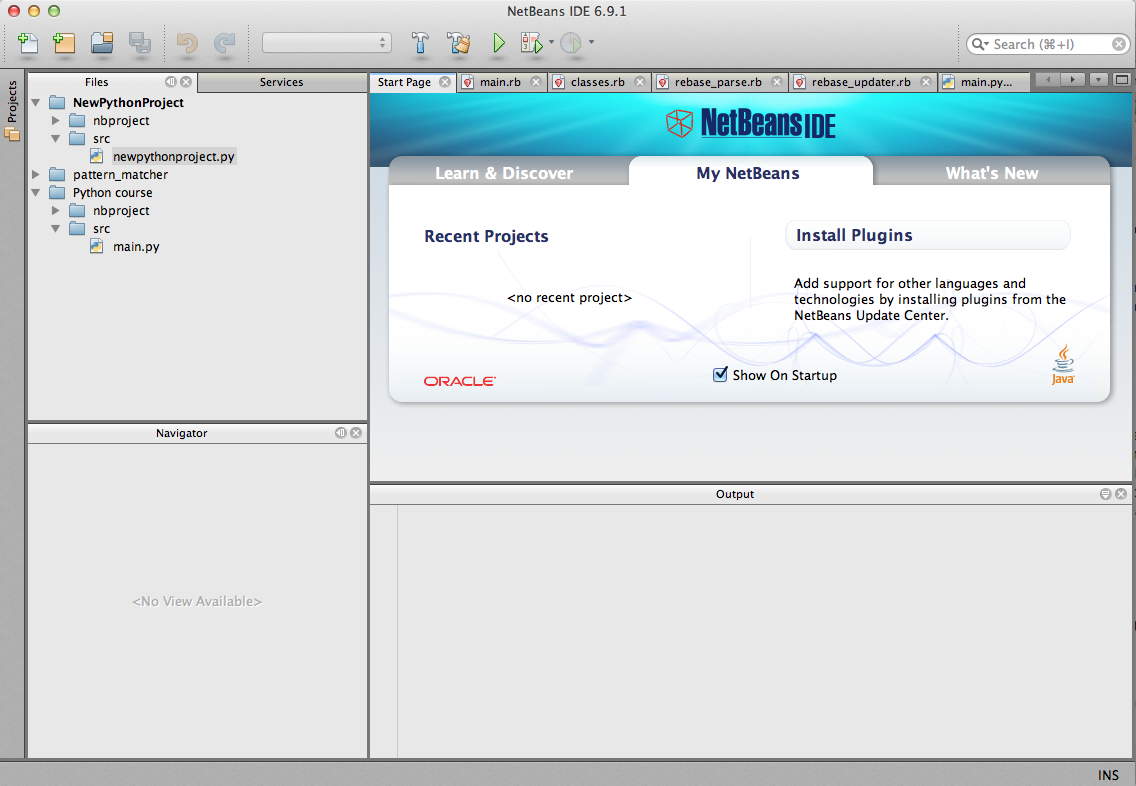
However, for this course we will use the somewhat simpler Komodo Edit text editor.
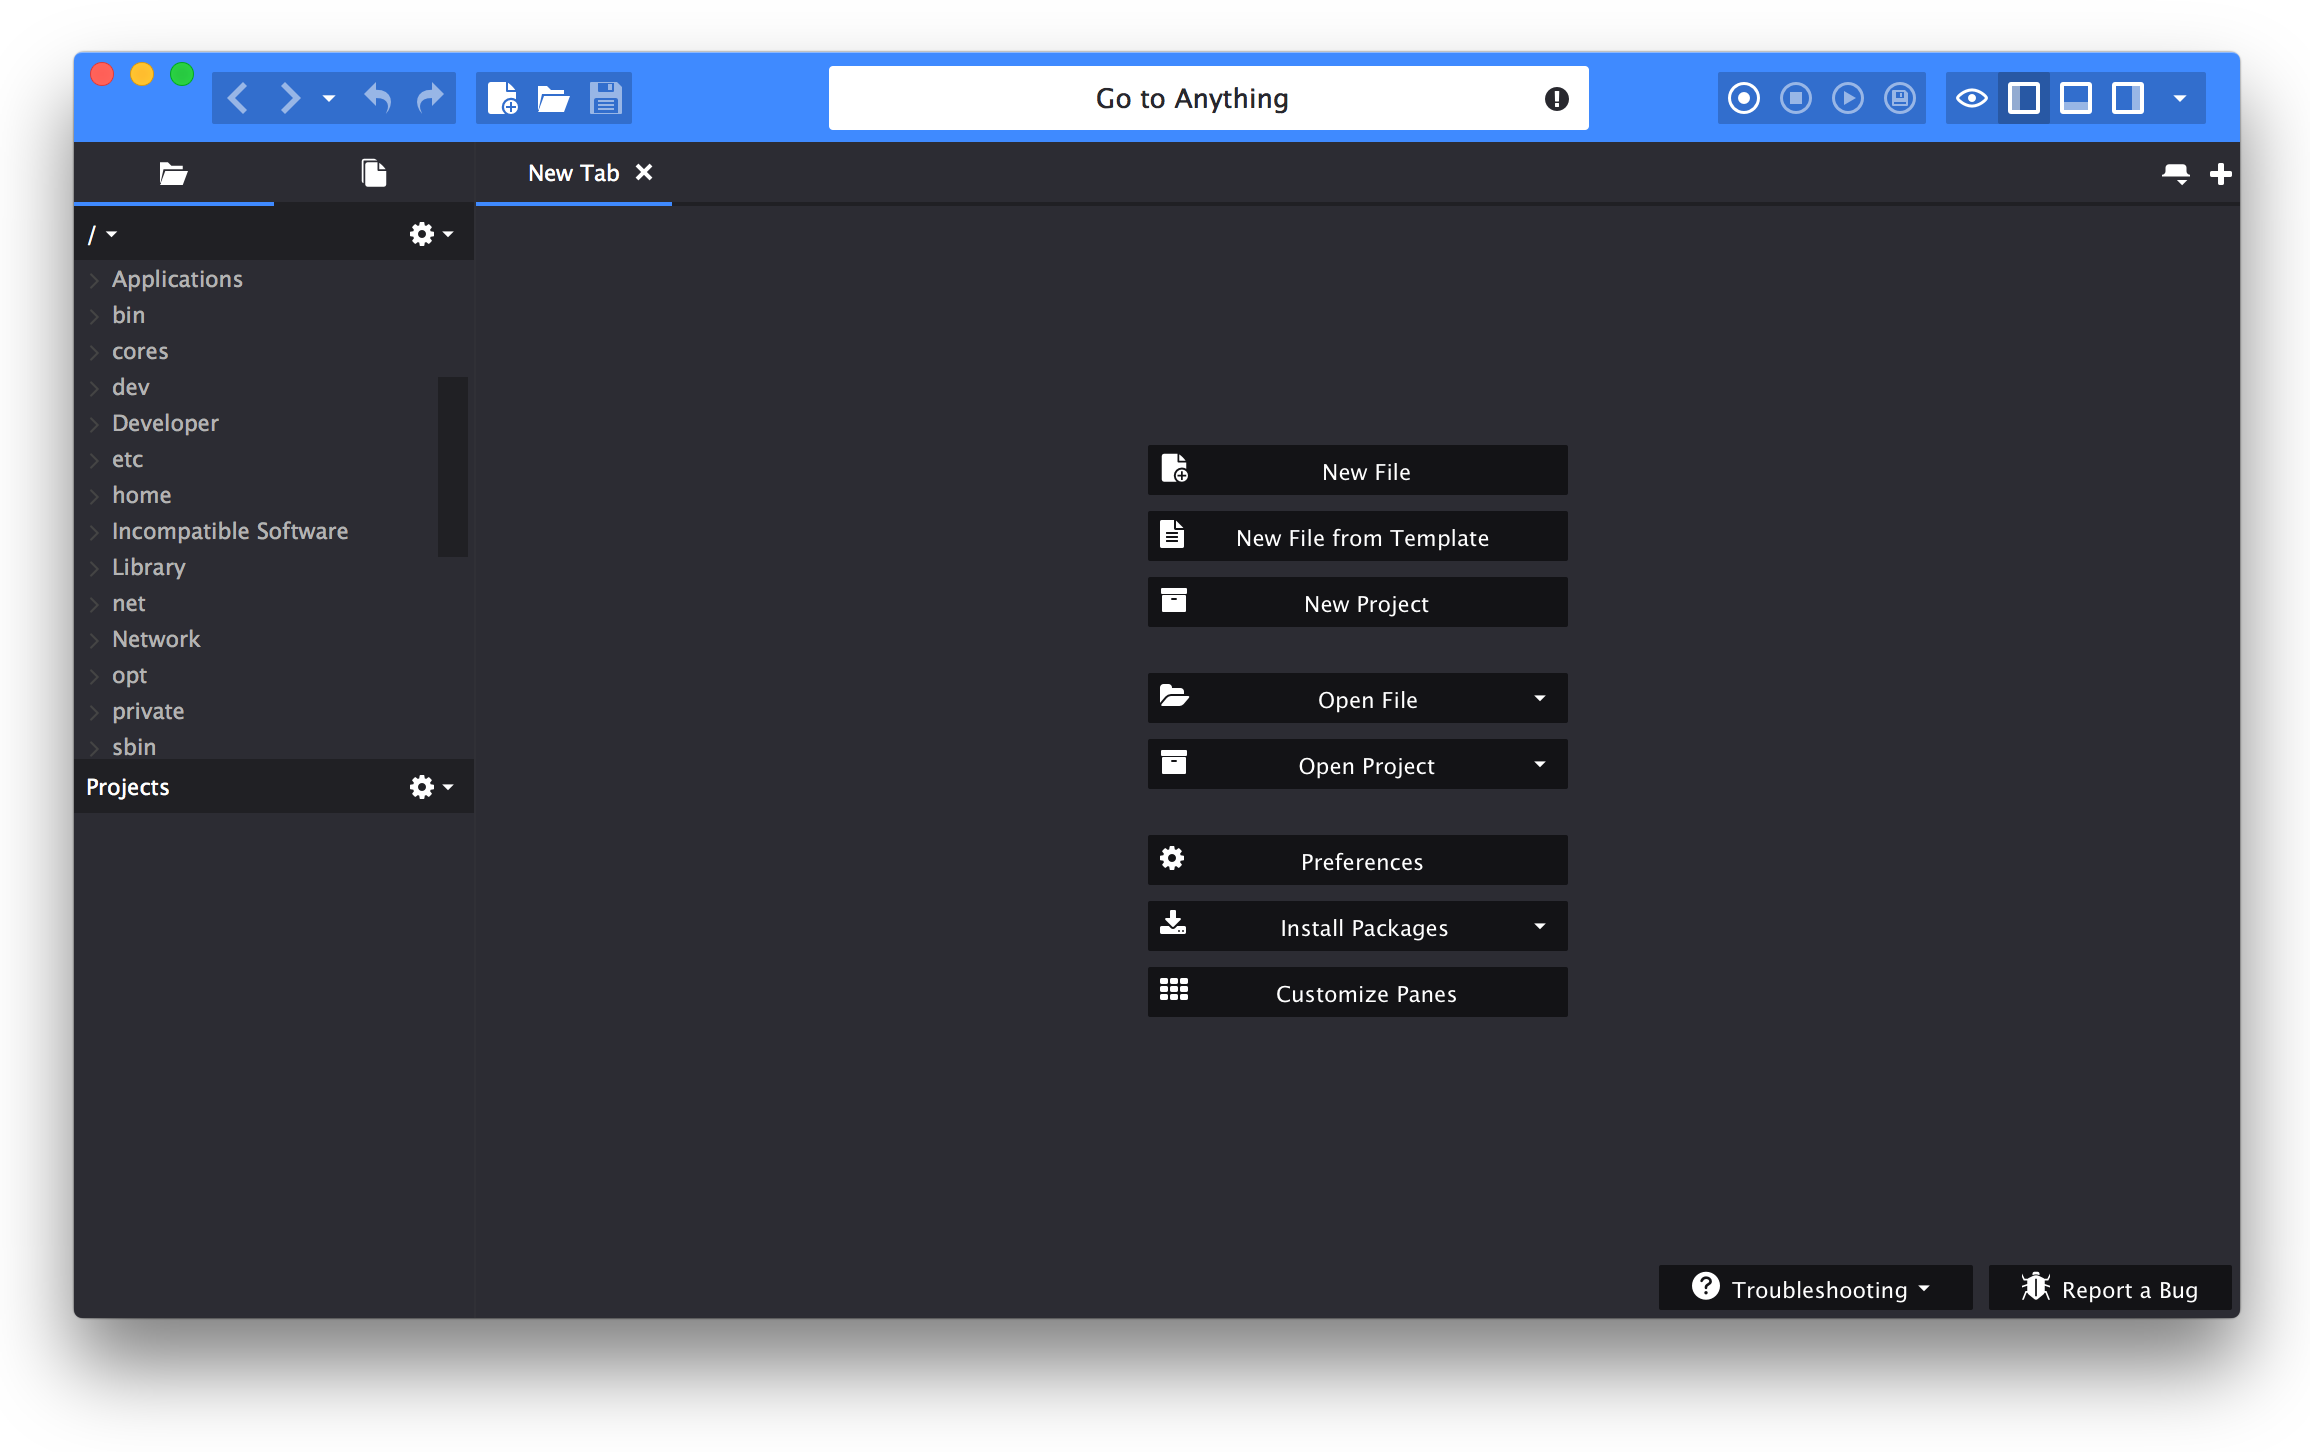
We suggest that you now download and install the correct version of Komodo Edit for your local OS.
Remote files editing in Komodo Edit
Under the Edit menu, you can access the Komodo Edit preferences. On the left pane, a number of preferences sections are available, we will go to the Servers section and fill in our details for connection to the remote server. The details to be filled in are the usual details for a connection:
- Connection name
- Host address
- Username
- Password
- Connection type – You should select SFTP, as we did not enable FTP connections by installing any FTP server software during our server setup.
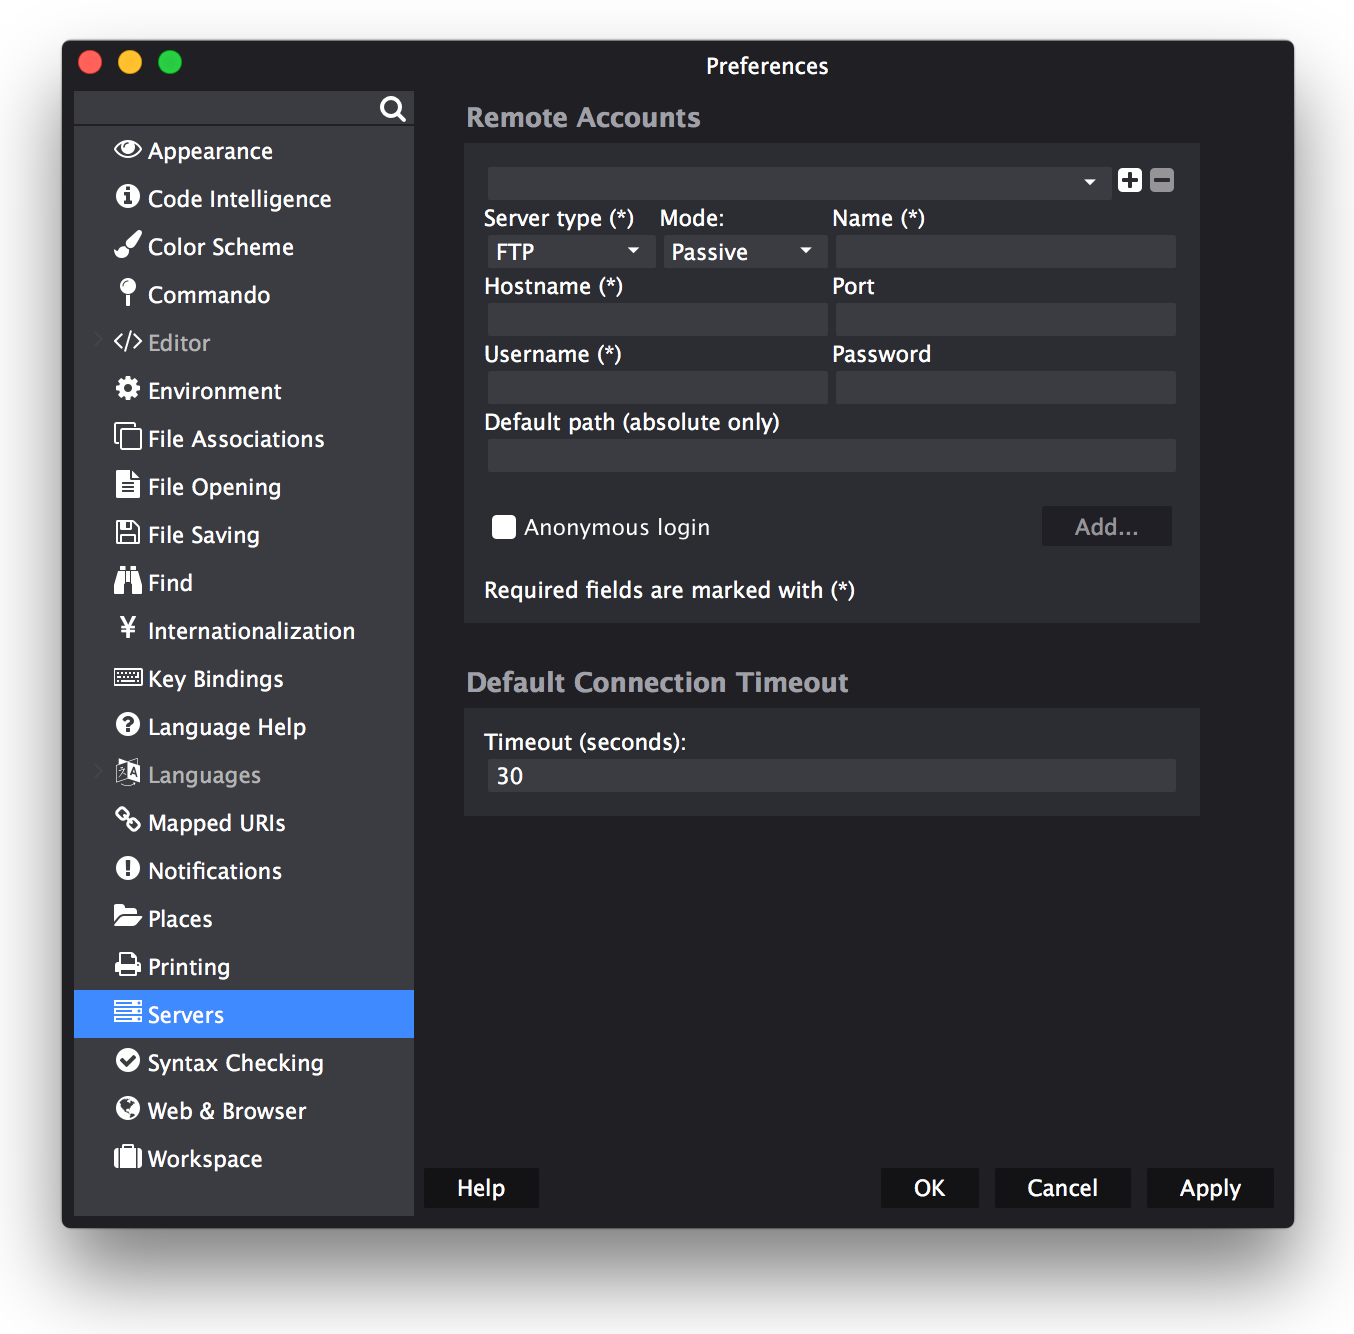
The “default path” is an optional field that is handy, as it will let Komodo open the specified directory (you will usually set this to your Document Root directory) by default, so that you will be able to avoid to navigate to it each time. If you do not set a default path, your default is the home directory of your user (/home/username). In the example above the default path was set at a classical user’s web root in a multi user environment, the public_html directory at /home/username/public_html. If you were the administrator of the remote machine, it could maybe set to /var/www, the default Apache Document Root.
Once you have filled-in the connection details, press “add” to add the new connection and then press “OK” to save preferences.
To open a file on the remote server, from the File menu select “Open”, and then “Remote File”
Syntax Highlighting
One useful feature of specialized code editors is syntax highlighting. This allows to distinguish the various elements composing a code, such as for example tags in THML, making developer’s life much easier. Another interesting feature is that you are able to see lines numbering so that you can identify and refer to a specific line number in your source code.
As a matter of exercise, we invite you to do the following:
Exercise: create, upload, edit a page on the server
Create a new folder, locally, to store all your pages and code relate to this course, let’s call this folder “wdev” for example.
Open Komodo and create a new local file called test.html inside your wdev folder. Write something to the file, such as “Hello World!”, save the file, close the file, quit Komodo.
Upload the file to your server Document Root (this could be the main server Document Root, /var/www/html, if you are the server administrator or your user’s Document Root, such as a /home/username/public_html directory if you have an account on a multi-users serves) with FileZilla and check that you can visit it with your browser at it’s URL. If you have studied and understood this section of the course, it should be easy for you to know what the correct URL for your file is.
With Komodo, open the test.html file remotely (not the local copy you first created!), as shown in figures 3-3-1 and 3-3-2, make a change to the file, save.
Then reload the page on the browser and check it has indeed changed.
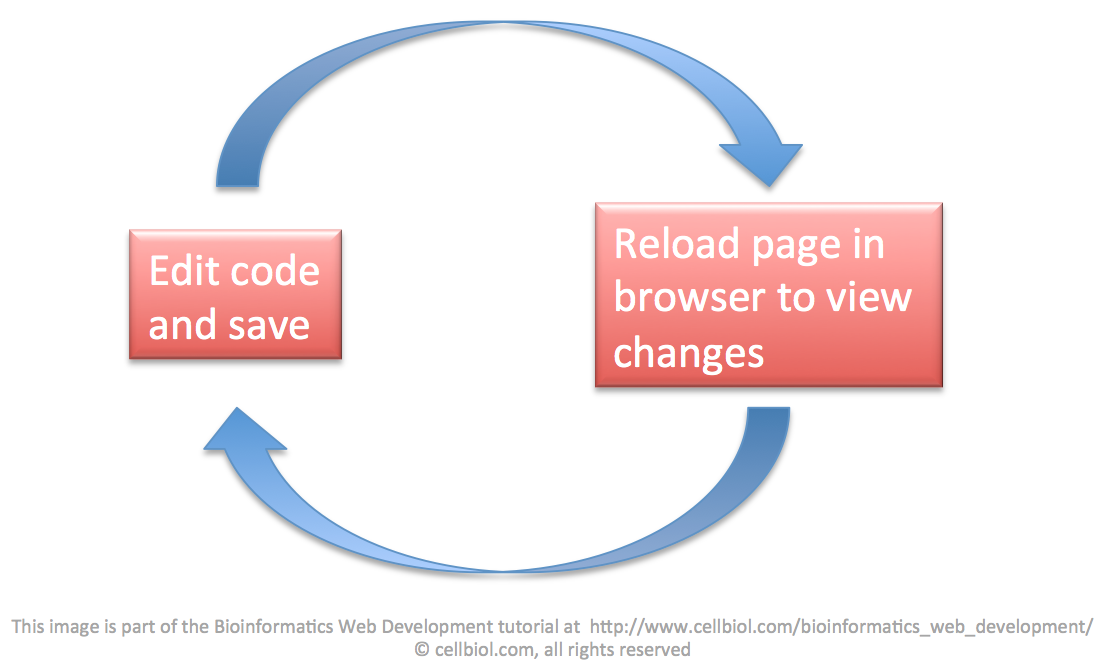
The Web Development Cycle
EDIT PAGE –> SAVE –> RELOAD PAGE AND CHECK RESULTS. REPEAT.
This cycle is typical of web development, you will get used to it while you proceed with the course examples and exercises.
Other graphical text editors
In alternative to Komodo Edit, there are several other great graphical code text editors to consider. Here is a very short, far from comprehensive list.
Cross platform
Windows
Mac
- Coda, not free, our favorite
Linux
- Gedit, installed on Ubuntu by default
Let’s now build a first web page with proper HTML and get it online!
Chapter Sections
[pagelist include=”135″]
[siblings]